SOCIAL MEDIA

Saturday, February 25, 2023

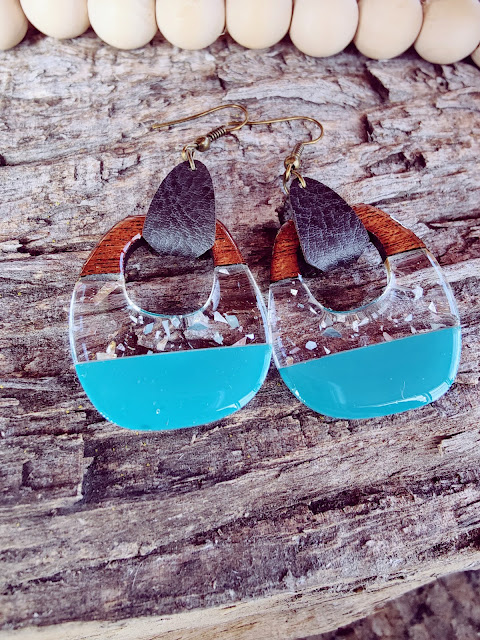
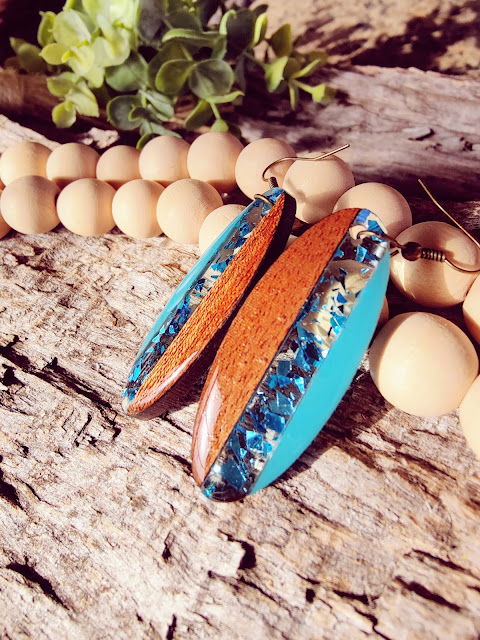
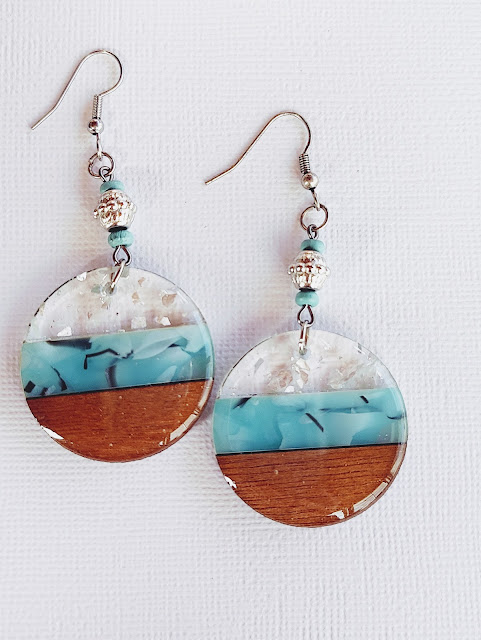
Create Wood and Acrylic Earrings with UV Resin

 Hello all.  It's been a minute since I've posted and I don't really have a good excuse.  But I'm back finally with a quick tutorial on how to make these beautiful earrings!


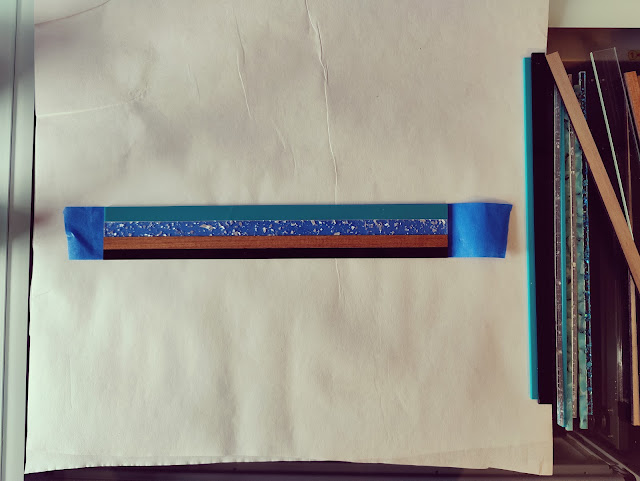
You are going to be shocked to find out how easy these are to make and I think they look really high end and boutique-worthy.  You are going to need several strips of acrylic and wood in varying widths.  I made them at 12" long.


You are also going to need:

- UV Resin (I recommend high viscosity) and UV lamp
- Blue Painter's Tape

Step 1:
Line up your chosen wood and acrylic strips on a piece of painter's tape.  Make sure they are pressed as close together as possible.  Then top with another piece of painter's tape and trim.

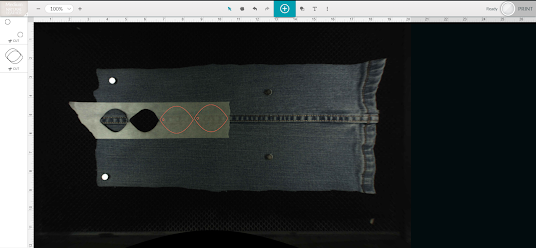
Pin down the strips in your laser bed. Then go to your laser software and line up your favorite earring shapes on the taped strips.

Next, cut the earring designs.

Next, remove the painter's tape from one side only of the design.

Now you are going to apply your UV resin to the untaped side.  Make sure that you get the resin all the way to the edges and pop all the little bubbles before you cure them under the lamp.

Cure the resin for the recommended time according to your chosen resin brand.  When cured, remove the masking on the back and repeat the process on the other side with the UV resin.

Then marvel at your creation!


Wasn't that easy peasy?  I may have gone a little crazy making these but I really enjoyed the process!  Just think of all the different possibilities you can come up with!

If you found this tutorial useful, leave me a comment!  Thanks for reading!


Tuesday, March 29, 2022

Two Part Bunny Earrings

 Welcome back!  It's March 29th and I should be doing my taxes but this earring idea has been kicking around in my head.  I have gone through about a hundred prototypes but I finally came up with a layered bunny earring that turned out pretty stinking cute!  These are a little work and need a little patience so I'm offering them as a free file.  Here's what I came up with


And here's how it works.  Dowload the free file (below) and load it into the Glowforge UI.  There are several layers and here's the key: 


I used whiteboard for these and masked them prior to cutting.  I always score with a higher power to get a deeper score and to help the paint stay in the lines.  I then removed the masking from the inner ears and toe beans and painted those parts pink with a Posca marker.  After it dries I remove all the masking and assemble them by gluing the head and feet on the body. As designed they are about 1.5" x 1" and they take about 1.5 minutes to engrave and cut per pair.  I hope you think they are as cute as I do!


Thank you for visiting and let me know what you think!


Thursday, January 20, 2022

Upcycled Denim Jeans Feather Earrings File

 Hello All!  Wow, it's been almost a year since I've posted!  I have been busy beating cancer!  I finished chemo in June and had surgery last month to have my ostomy reversed.  All scans are clear so I just have to go in every 3 months for bloodwork to make sure I'm really cancer free.  

I have also listed several new files in my Etsy shop.  If you get a chance, check it out!

I'm really trying to not spend a bunch of money on supplies in the new year since I have tons of stuff I haven't even used yet.  I've been wanting to try cutting denim with my Glowforge and made these really cute earrings.


These were made from a really old pair of jeans in my closet that should have been donated years ago!  The brand is D.Jeans.  Anyone heard of them?  When I googled them, they are only available on Poshmark or Thredup so they have probably been out of production for years.  Seriously, I think they are at least 20 years old!  Upcycling is really popular right now and if I can use free materials for some cute earrings, it's a win!

First I cut the jeans up using the inseam as the middle of the earrings.  I ironed the piece flat and put it in the Glowforge.  I then cut them using medium Proofgrade Leather as the setting but changing the speed and power to 180/Full.  Depending on your denim weight, you may need to use a faster or slower speed.  Try to place the seam in the middle of the design.  I held the denim down with magnets and I did mask but I don't think it's necessary to do so.


Cutting takes about 20 seconds and is the easiest part of making the earrings.  Then you have to fray them by pulling out the threads one by one... This is actually demonstrated on a keychain size piece.


Here's the keychain I made using the denim and wood charms.  I used an eyelet in the hole to make it more secure: 
Anyway, after fraying it, I added some bling!  I used some iron-on ribbon from Hobby Lobby that I cut into a single strip.  It comes like this:
And you can easily cut it to whatever size you want.  I ironed it using a Cricut mini press in the middle of the earring.  I love how they turned out!

You can download the svg I used for the earrings and keychain HERE
If the above link doesn't work - try THIS ONE
I hope you enjoyed this post and happy Forging!


Sunday, February 7, 2021

Open Hoop Earring File


Hi all!  I'm back with a simple earring file after reading on the Glowforge - Jewelry Makers Facebook group that makers were having a hard time finding a file for open hoop earrings.  After I made the file I had a lot of fun making some unique hoops out of wood and acrylic.


I made these out of wood and engraved patterns on them with my Glowforge.


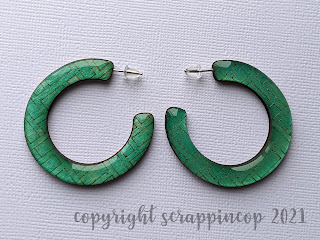
These are wood with alcohol ink and UV Resin


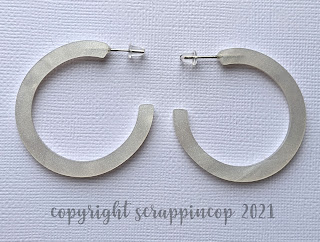
Acrylic


On the bottom pair above, I cut wood veneer and added it to the acrylic to hide the posts inside the clear acrylic.  For the green glitz pair, I used gold foil topped with UV resin to hide the posts.

To attach the posts, I drilled a tiny hole in the end of the earrings with my dremmel.  I then used a 21 gauge headpin and glued it in the hole.  The glue used for the wood earrings is DAP Rapidfuse.  I found it didn't work well for the acrylic earrings and ended up using UV resin to secure the headpins on the acrylic earrings.  After the glue/resin cured, I snipped the headpin to the appropriate length and sanded down the sharp edges created when I snipped them.  I think they turned out great!

I made 4 different widths and 2 versions, depending on how wide you want the gap in the hoop.  These are sized at 1.75 inches but of course you can resize as needed.  Thanks for looking!


Wednesday, January 27, 2021

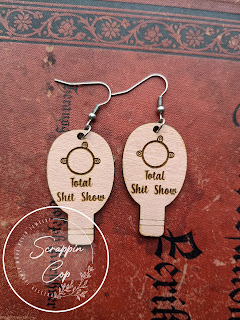
Funny Ostomy Earrings


Hello all!  It's been a long couple of months but I'm finally back with a freebie that will probably have very few downloads but I think they are fun and relevant to my life right now!  I had my surgery Dec 1st to remove my tumor and woke up with an ileostomy.  This was best case scenario because it is only temporary and will be reversible.  I was feeling pretty crappy for a couple of weeks but bounced back and I feel great now!  There were lymph nodes affected so I am now going through clean-up chemotherapy.  I go every other week for 12 sessions and should be finished this summer.  I'm ready to get it all behind me!

So anyway, if you know someone with an ostomy and would like to make them a cute pair of earrings - here you go!  Enjoy!


If you happened to land here but don't have a laser, I sell these earrings in my Etsy Shop.


Tuesday, November 24, 2020

Macrame Gnome Earring File and Cancer Update


Hello all!  Sorry I haven't posted in a few days but I've been busy creating some new earring files to list in my Etsy shop.  I made these adorable macrame Santa earrings and they'be been really popular.


So I decided to make a set of gnomes too and I think they turned out pretty stinking cute!  The file is set up to score the gnome's nose and the bottom of his hat.  This makes painting easy!  you can peel the masking off the part you are painting and you don't have to worry about going outside of the lines because the rest of the masking is still in place.  You can really get creative with the hat and paint or engrave a design in it.  I'm thinking a heart for Valentine's Day, snowflake for Christmas, shamrock for St. Patrick's Day, etc.  These really aren't my style but macrame earrings are really trending (think Boho).  

I used white embroidery floss for these and cut them to about 5 inch lengths.  Each section has 3 strands of embroidery floss, doubled when you make a larks head knot for each section.  I just made these for display purposes but if you are going to wear/sell them (and why wouldn't you?), you would probably want to put a dab of glue on the back of each knot so they don't come undone.

Also, this may be the last post for awhile because next Tuesday (Dec 1st) I will be having surgery to remove the tumor and a big section of my colon/rectum.  I met with the surgeon last week and he stated the surgery could take up to 6 hours.  They are going to try to do it robotically but if they run into complications they will have to open me up.  Obviously I would prefer robotically because there will be smaller incisions and easier recovery.  Hoping for the best!  I will be in the hospital for 3-5 days and due to Covid I can't have any visitors!  Once they wheel me into the OR, I won't see my family again until they pick me up at the front door 3-5 days later.  I have to say, I am a little terrified.  I'm not afraid of the surgery or even the pain.  I am worried that the recovery will take too long and I won't enjoy Christmas.  But it needs to be done and I will be glad to have it behind me.

Ok, now for the reason you are all here, the freebie.  I have had a few comments on facebook that some people cannot download my files.  I would suspect it is because your browser is blocking it.  It is a direct download from Google Drive.  If you cannot download it, please try allowing pop-ups or try a different browser.  Hopefully that will allow you to download them!


If you don't have a Glowforge but would like to make these cute earrings, I sell the blanks in my Etsy Shop.

I also sell the Santa wood blanks!


Saturday, November 14, 2020

3D Snowflake Earrings - Free Laser File


Happy Saturday everyone!  It's starting to get cold here in Illinois and although we haven't had any real snowfall yet we all know it's coming soon!  I had some fun creating thse little 3D snowflake earrings and I think they really turned out cute!  There are two different versions in the .zip file.  There is one for proofgrade acrylic and one for 1/8" wood or other brands of acrylic that might be a little thicker.  After they are cut you have two pieces.  I painted these and added a bit of glitter:


The wood version has a bigger slot and depending on your materials there may be a little bit of leeway when you piece them together.  I just use one of these tiny brushes and add superglue to the area in red before I slide them together to secure them.


Then you just need to add your hardwear and they're ready to wear!  I hope you enjoy them!  Commercial Use is OK with this file!